5.2.2.3. Settings up a Pi-Star DMR Hotspot
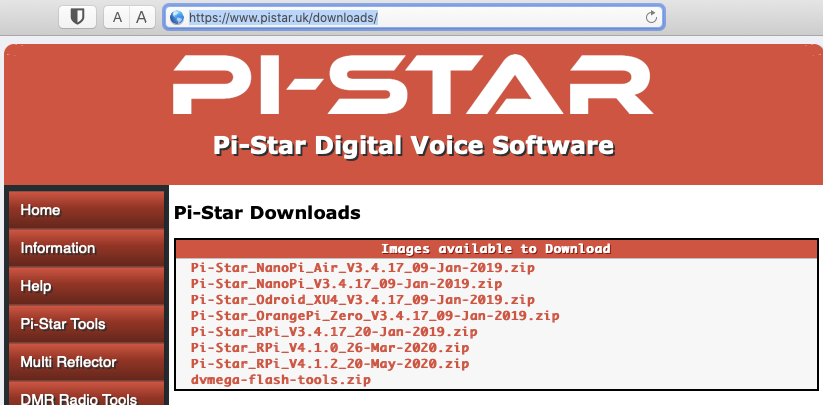
Downloading Pi-Star software https://www.pistar.uk/downloads/
Select the image for your system, typically using a Pi-Zero select
Pi-Star_RPi_V4.1.2_20-May-2020.zip
expand the zip file, inside will be a .img the file.
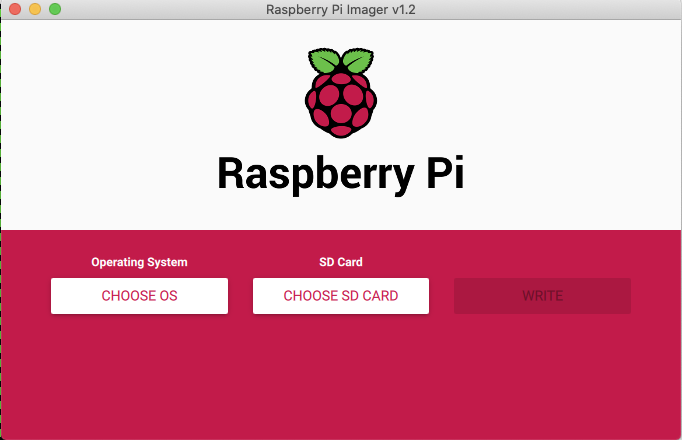
Download and install software to write the image to the micro SD card for example Raspberry Pi Imager
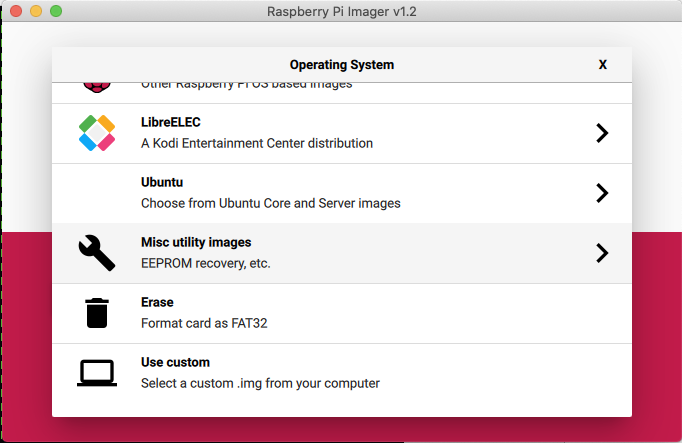
Select “Choose OS” and scroll down to “use Custom”.
Insert a SD card (16Gb is plenty of space) and select it and write the image. It should only take 5-10 minutes.
Once complete you can remove the SD card from the computer.
5.2.2.3.1. Set WiFi credentials
Insert the SD card into your computer and it should mount the BOOT partition. Use a simple text editor, such as notepad, we’re going to create a file called “wpa_supplicant.conf” which will define your WIFI. You can add multiple WIFI networks, eg, mobile phone, home WiFi, office WiFi, etc. The Pi will then look and try to connect to each in turn.
Copy these lines to the new file and save it to the SD card, (BOOT partition).
ctrl_interface=DIR=/var/run/wpa_supplicant GROUP=netdev
update_config=1
ap_scan=1
fast_reauth=1
country=GB

network={
  ssid="MY SSID"
  psk="My SUPER SECRET PASSWORD"
  id_str="0"
  priority=100
}
Once written, eject the SD card and your ready to boot the Pi-Star.
Put the SD card into your pi-star and power it on. After a short time it should complete boot, you should be able to reach it with the URL http://pi-star.local. If not you might need to find it’s IP address. This can be easily done by logging into your internet router and looking at the list of DHCP leases.
5.2.2.3.2. Initial configuration
Connect to http://pi-star.local, and login with the credentials
username: pi-star
password: raspberry
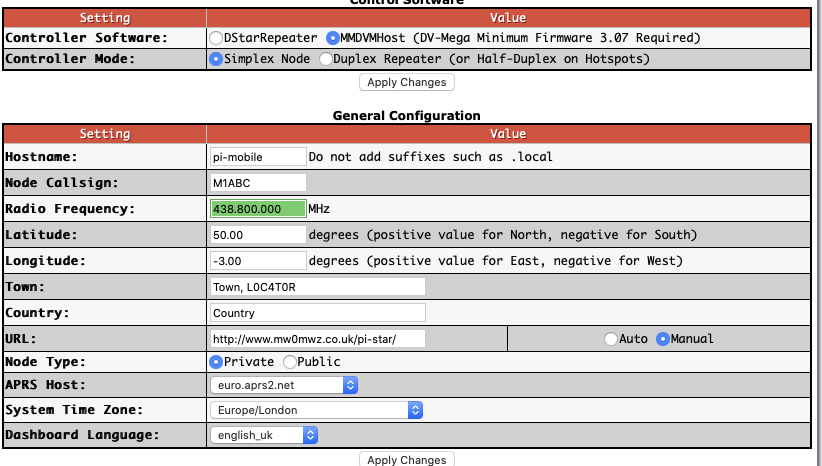
Work your way down the “General Configuration” settings.
Node Callsign
DMR ID
Radio Frequency, pick one that’s free where you plan to use it.
Location settings are optional.
Node Type, if set to private will only accept radios with your DMR-ID, make public if you have multiple, though rules suggest this might not be permissible in the UK.
Select apply changes. Once refreshed which can take a few seconds more config options will display
Before going much further set the radio/modem type to match your MMDVM modem and select apply again. It’s often necessary to set this twice on first configuration.
Enable DMR and select Apply.
Set the Display details if you have one.
Apply changes
5.2.2.3.3. DMR Configuration
set DMR master to “DMRGateway”
Apply changes
BrandMeister Master: “BM_Europe_2001”, There is a UK one but it doesn’t seem to work well for me.
The ESSID can be left blank if you only have one Pi, if you have multiple make sure each is unique.
5.2.2.3.4. Brandmeister API key
The API key allows your pi-star to interact with brandmeister servers and set and unset static talk groups and reflectors.
You’ll need to create an account with Brandmeister, https://brandmeister.network, creating an account is straight forward and just requires for DMR-ID for validation.
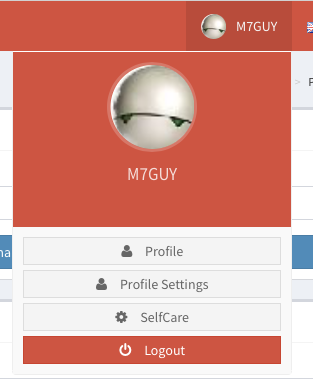
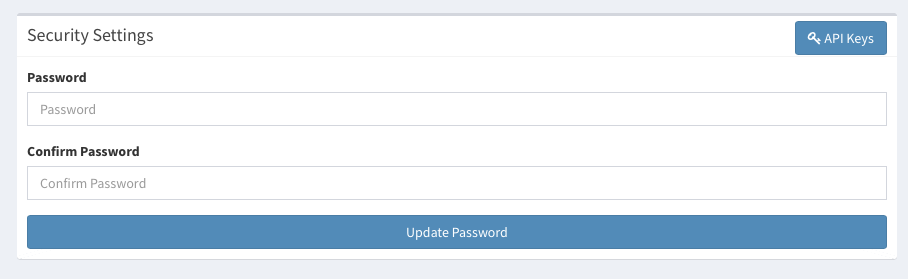
Once you’re account is enabled, you can login and select “Profile Settings”,
Under Security Settings, on the right hand side is a button “API Keys”, selecting this to manage your keys.
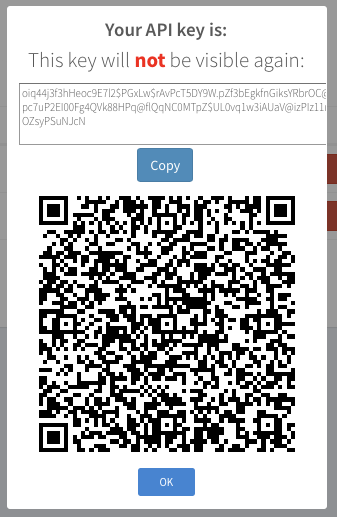
Select “Add” to create a new key, pick a name for the key. Not sure the value of the QR code, so just copy the string at the top, you can select the “Copy” button.
With it copied reconnect to your new Pi-star and select configuration, and then select “Expert”, you’re now looking for the button “BM API”
You can now paste this key into the field presented and select “apply changes” to finish.
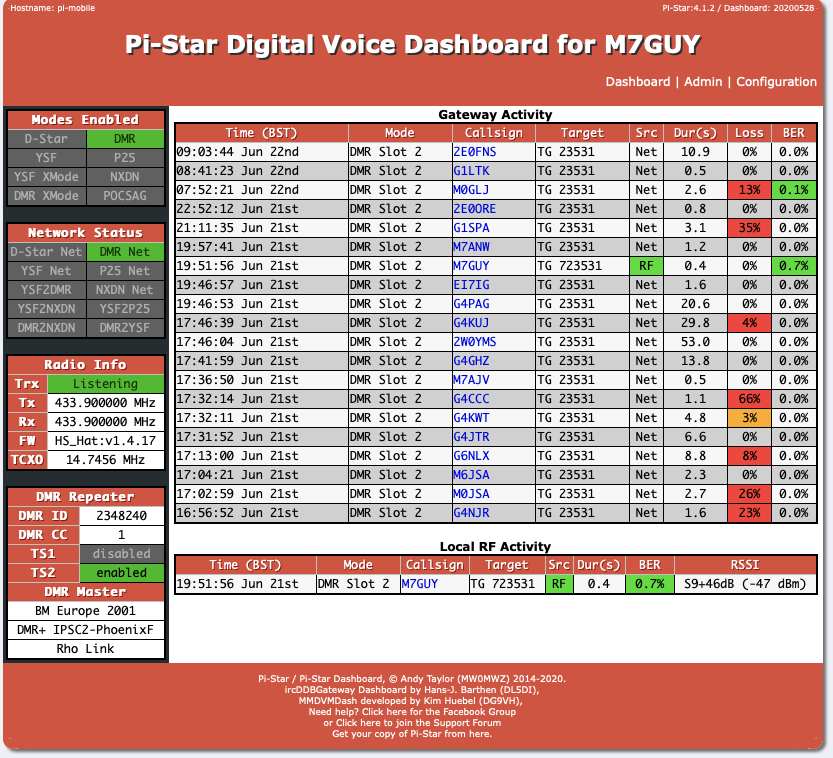
5.2.2.3.5. Dashboards
There are two dashboards you can watch, “Dashboard” and “Admin. The Dashboard provides a good overview of it’s function. The Admin board provides additional details on static talk groups, and with the API key set allows to add and remove them.