5.2.1.3. Anytone 868
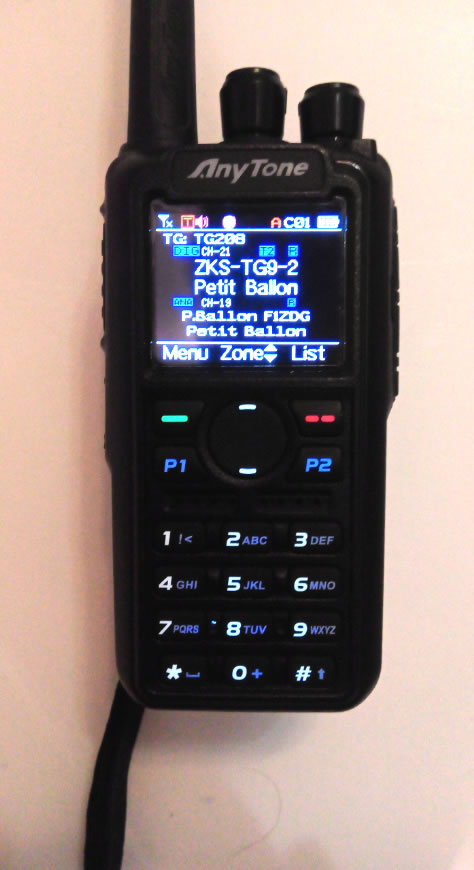
This was my first real radio since being licensed. I looked around at many different handheld radios, I wanted DMR but also analog.
I had to think long and hard to buy the 868 or the 878. I came across many sites which pointed out that the hardware was the same between the two, except for bluetooth. Bluetooth initially appealed to me as I could connect my Apple Airpods or car. However thinking further, while in the car I would lose listening to the car stereo. So I decided that bluetooth wasn’t worth the extra £70.
I also ran across some sites which document upgrading the boot firmware for an 868 to make it install and run the 8878 software.
https://www.f5uii.net/en/convert-at-d868uv-to-at-d878uv-analog-aprs-roaming/
https://radioaficion.com/news/how-to-convert-an-at-d868uv-to-at-d878uv/
Using both these guides I was able to upgrade the firmware without issue and I’m now running the 878 firmware just fine. All told I think it took around 30minutes to complete, but don’t rush, I had set aside a few hours to work through it. I also make sure I can copies of all the necessary files and backups of the radio before I started.
The main reasons for upgrading where
APRS for both FM and DMR
DMR roaming, I can now roam between my home Pi-star and my car one.
Additional colours for text on screen, making it easier to read
5.2.1.3.1. modifying the desk charger
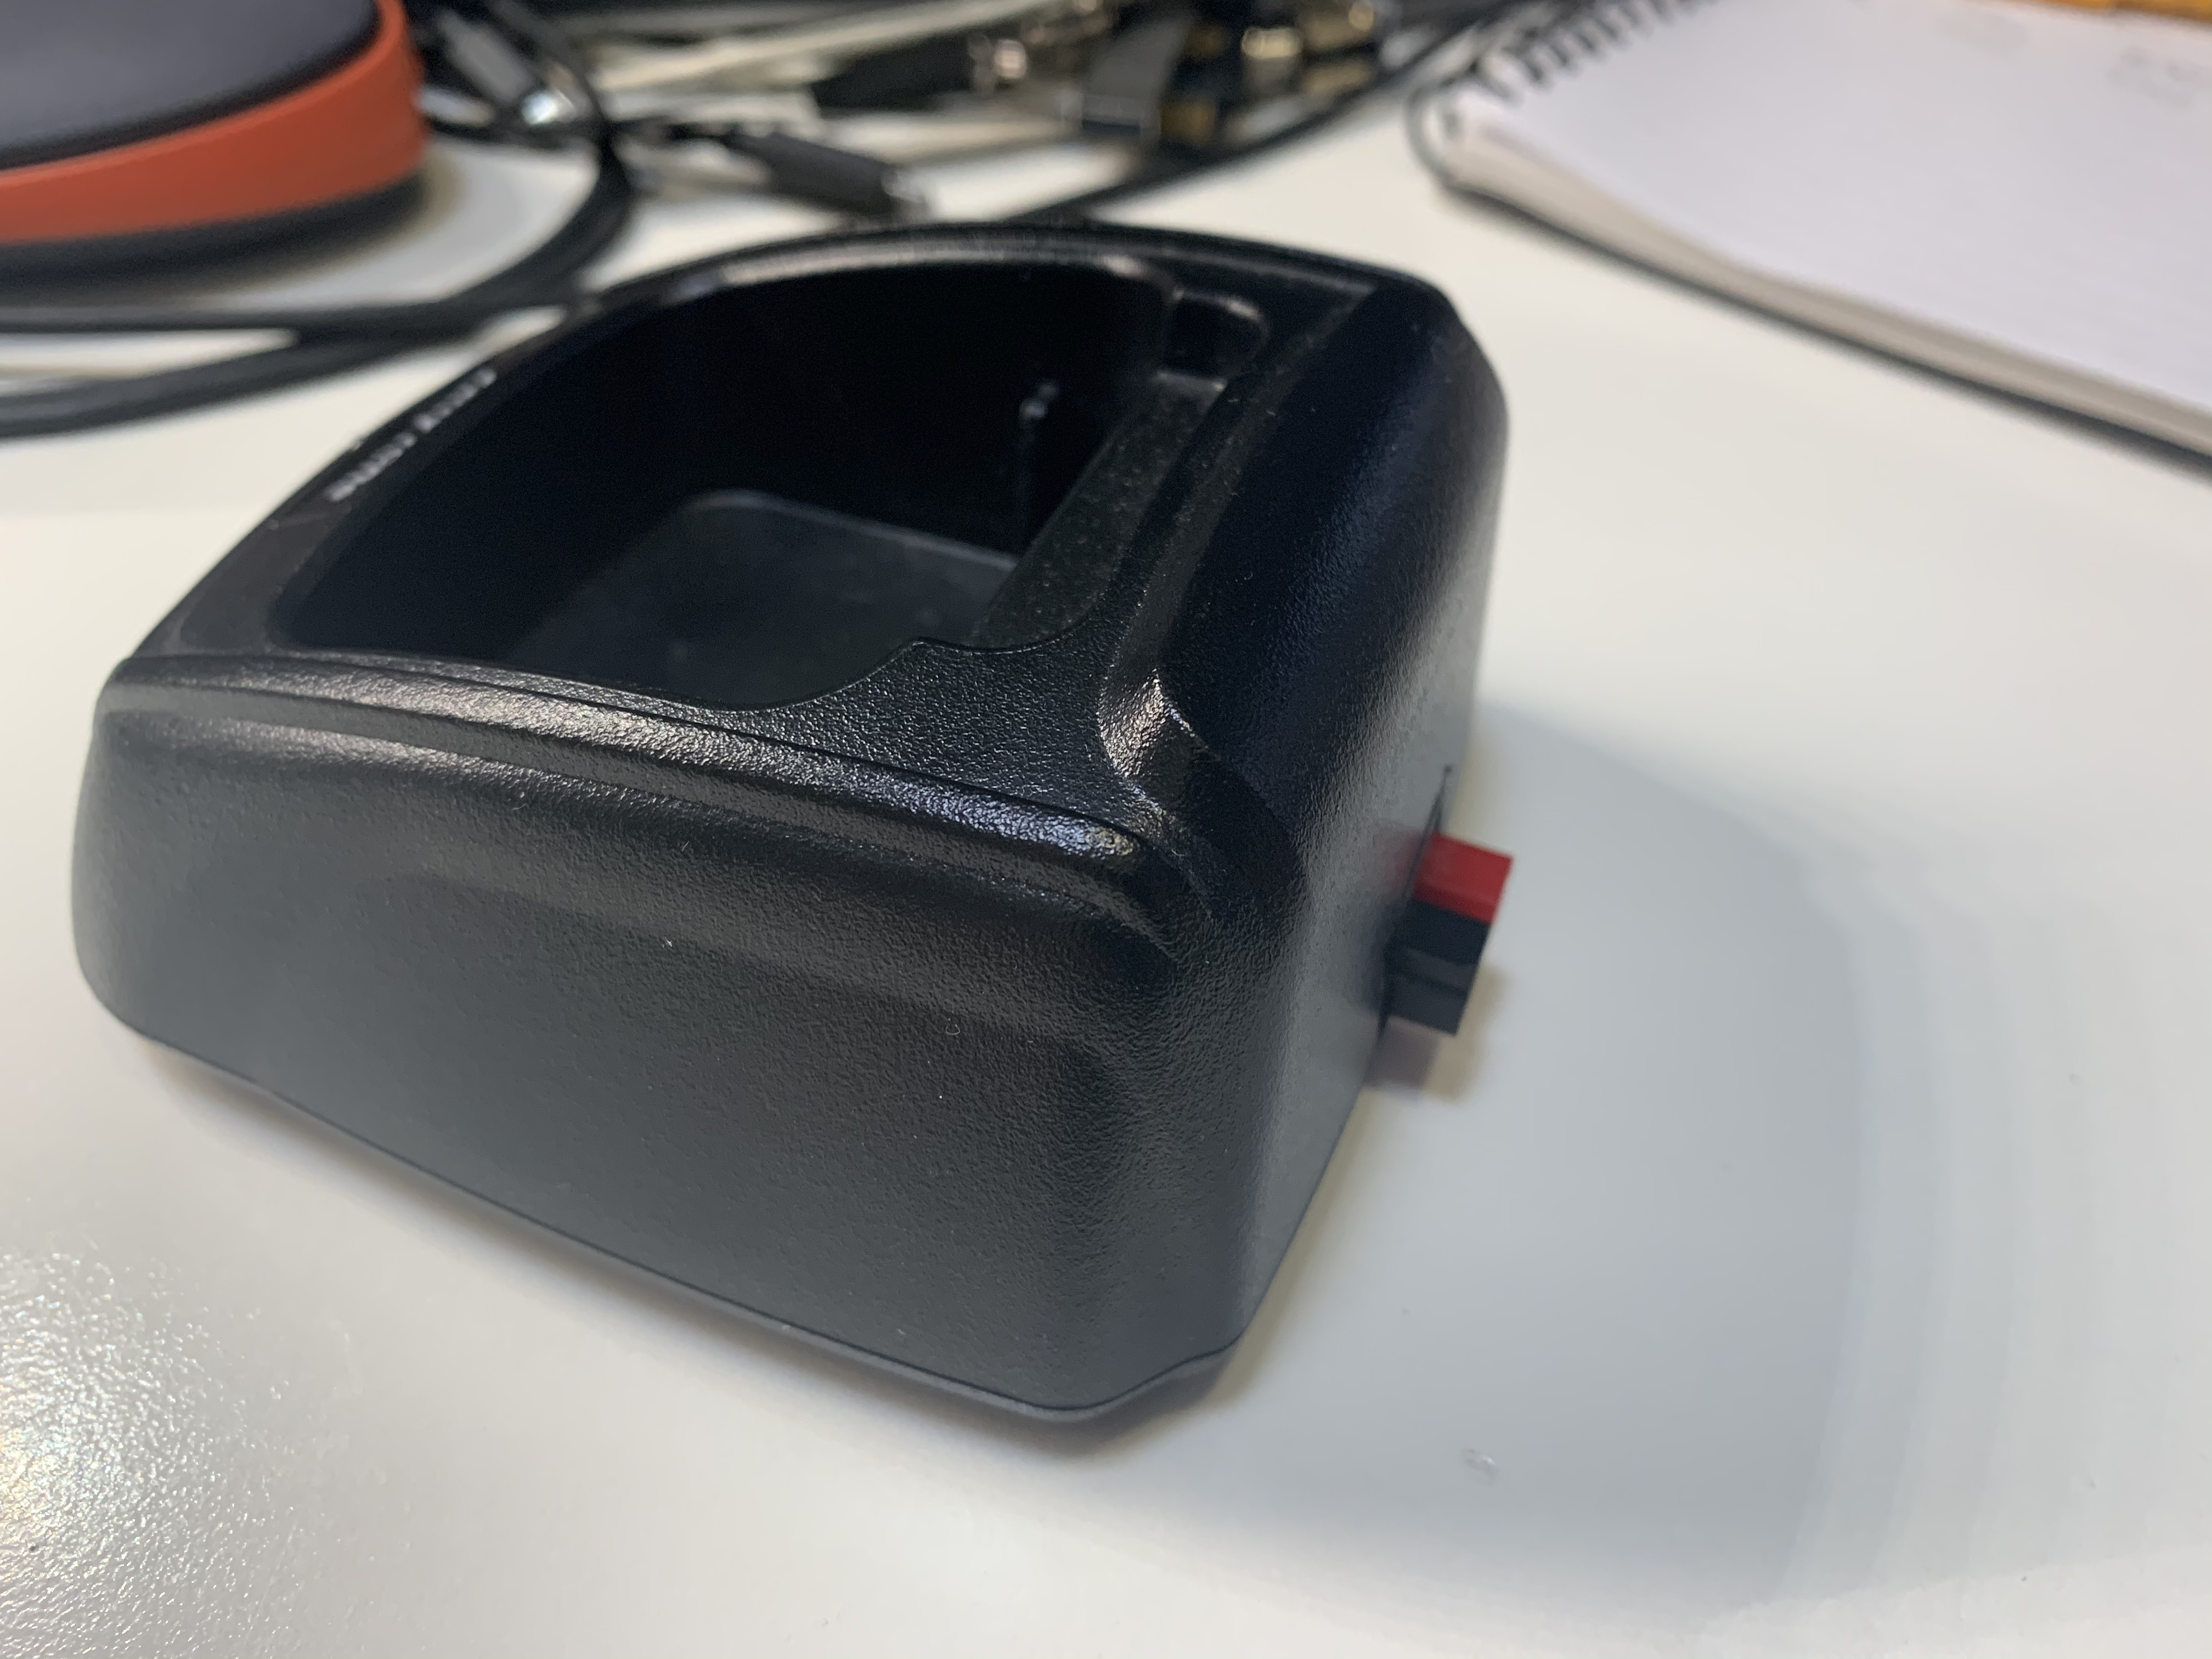

I’ve standardised on Anderson power for all my radio equipment, so was keen to continue that to the Anytone desk charger. The dock takes 12volts so we’re half way there already. Opening up the stand I found there’s space for the Anderson power plug. I had to cut the side to make space.
5.2.1.3.2. Portable battery charger
The point of handheld radios it portability, however using a desktop stand while out in the field really doesn’t work for me. So I’m designing a sleve to wrap around a battery and change it.
I want to charge from 12volts and 5volts USB. I can use a MT3608 charge booster to take the 5volts up to 12volts. This works fine, so I just need to design some plastic to hold the charge circuit from the desktop and add in the power charger board.