5.2.5. SSTV
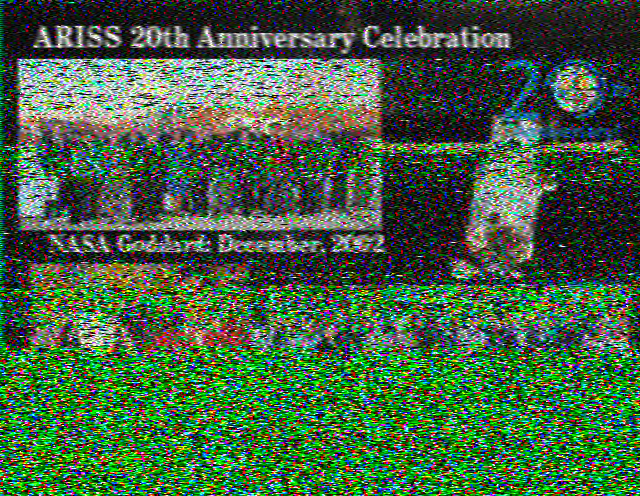
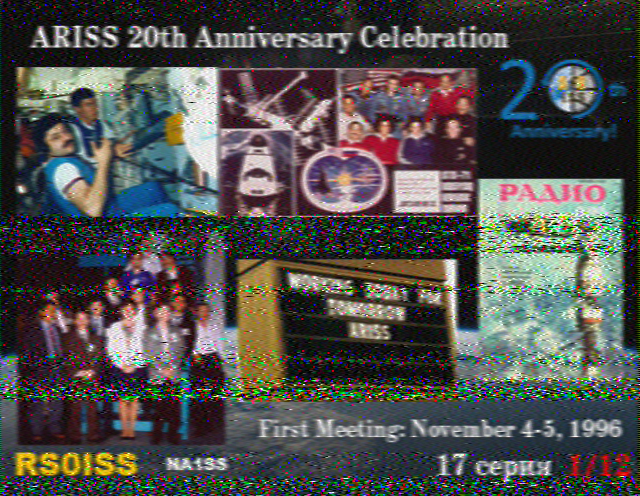
Slow Scan TV is a method of sending/receiving pictures over radio. I’ve been playing at receiving a few pictures on 20meters. However over this christmas (2020), period the ISS are broadcasting SSTV to celebrate 20 years of amateur radio on board the ISS.
https://amsat-uk.org/2020/12/21/iss-slow-scan-tv-event-145-800-mhz-fm/
After looking at the ISS tracking I saw that it was going to pass over my QTH on Christmas morning at 0705, so I thought I’d have a go at receiving the signal.
I have a Diamond-V200 on the side of the house, however I doubted it would pick up the transmission from space so I decided I needed to build a Yagi antenna which I can point at the space station as it passes by.
This being Christmas eve and in lockdown I was not going to be able to buy one at this short notice or indeed buy any parts to make one, so I was reliant on whatever I could find in my garage.
5.2.5.1. Parts
2 meter long wooden batten (3x3x200cm)
Solid core mains cable, usually used inside walls, 3 meters
PL259 connector
RG58 cables 5 meters
Balun Toriod (TORD-100)
5.2.5.2. Building
I cut the mains cable in to just over 1meter lengths, and stripped the outer insulation to get bare cores. I didn’t feel that the wire would stay straight so the plan was to strip the inner cores as well and then twist two together to give extra strength, it also as the advantage that it would be able to handle higher powers.
To wind the pairs together I clamped both wires together in a vice and the other end in the chuck of my hand drill and slowly ran the drill giving a nice even wrapping. For the reflector I used all the earth cores (3), making it even stronger and maybe improving the reflection(?)
I then cut the new wires to these specifications.
Element |
Length (mm) |
Spacing (mm) |
|---|---|---|
Reflector |
1014 |
0 |
Driven |
986 |
414 |
D1 |
947 |
155 |
D2 |
940 |
372 |
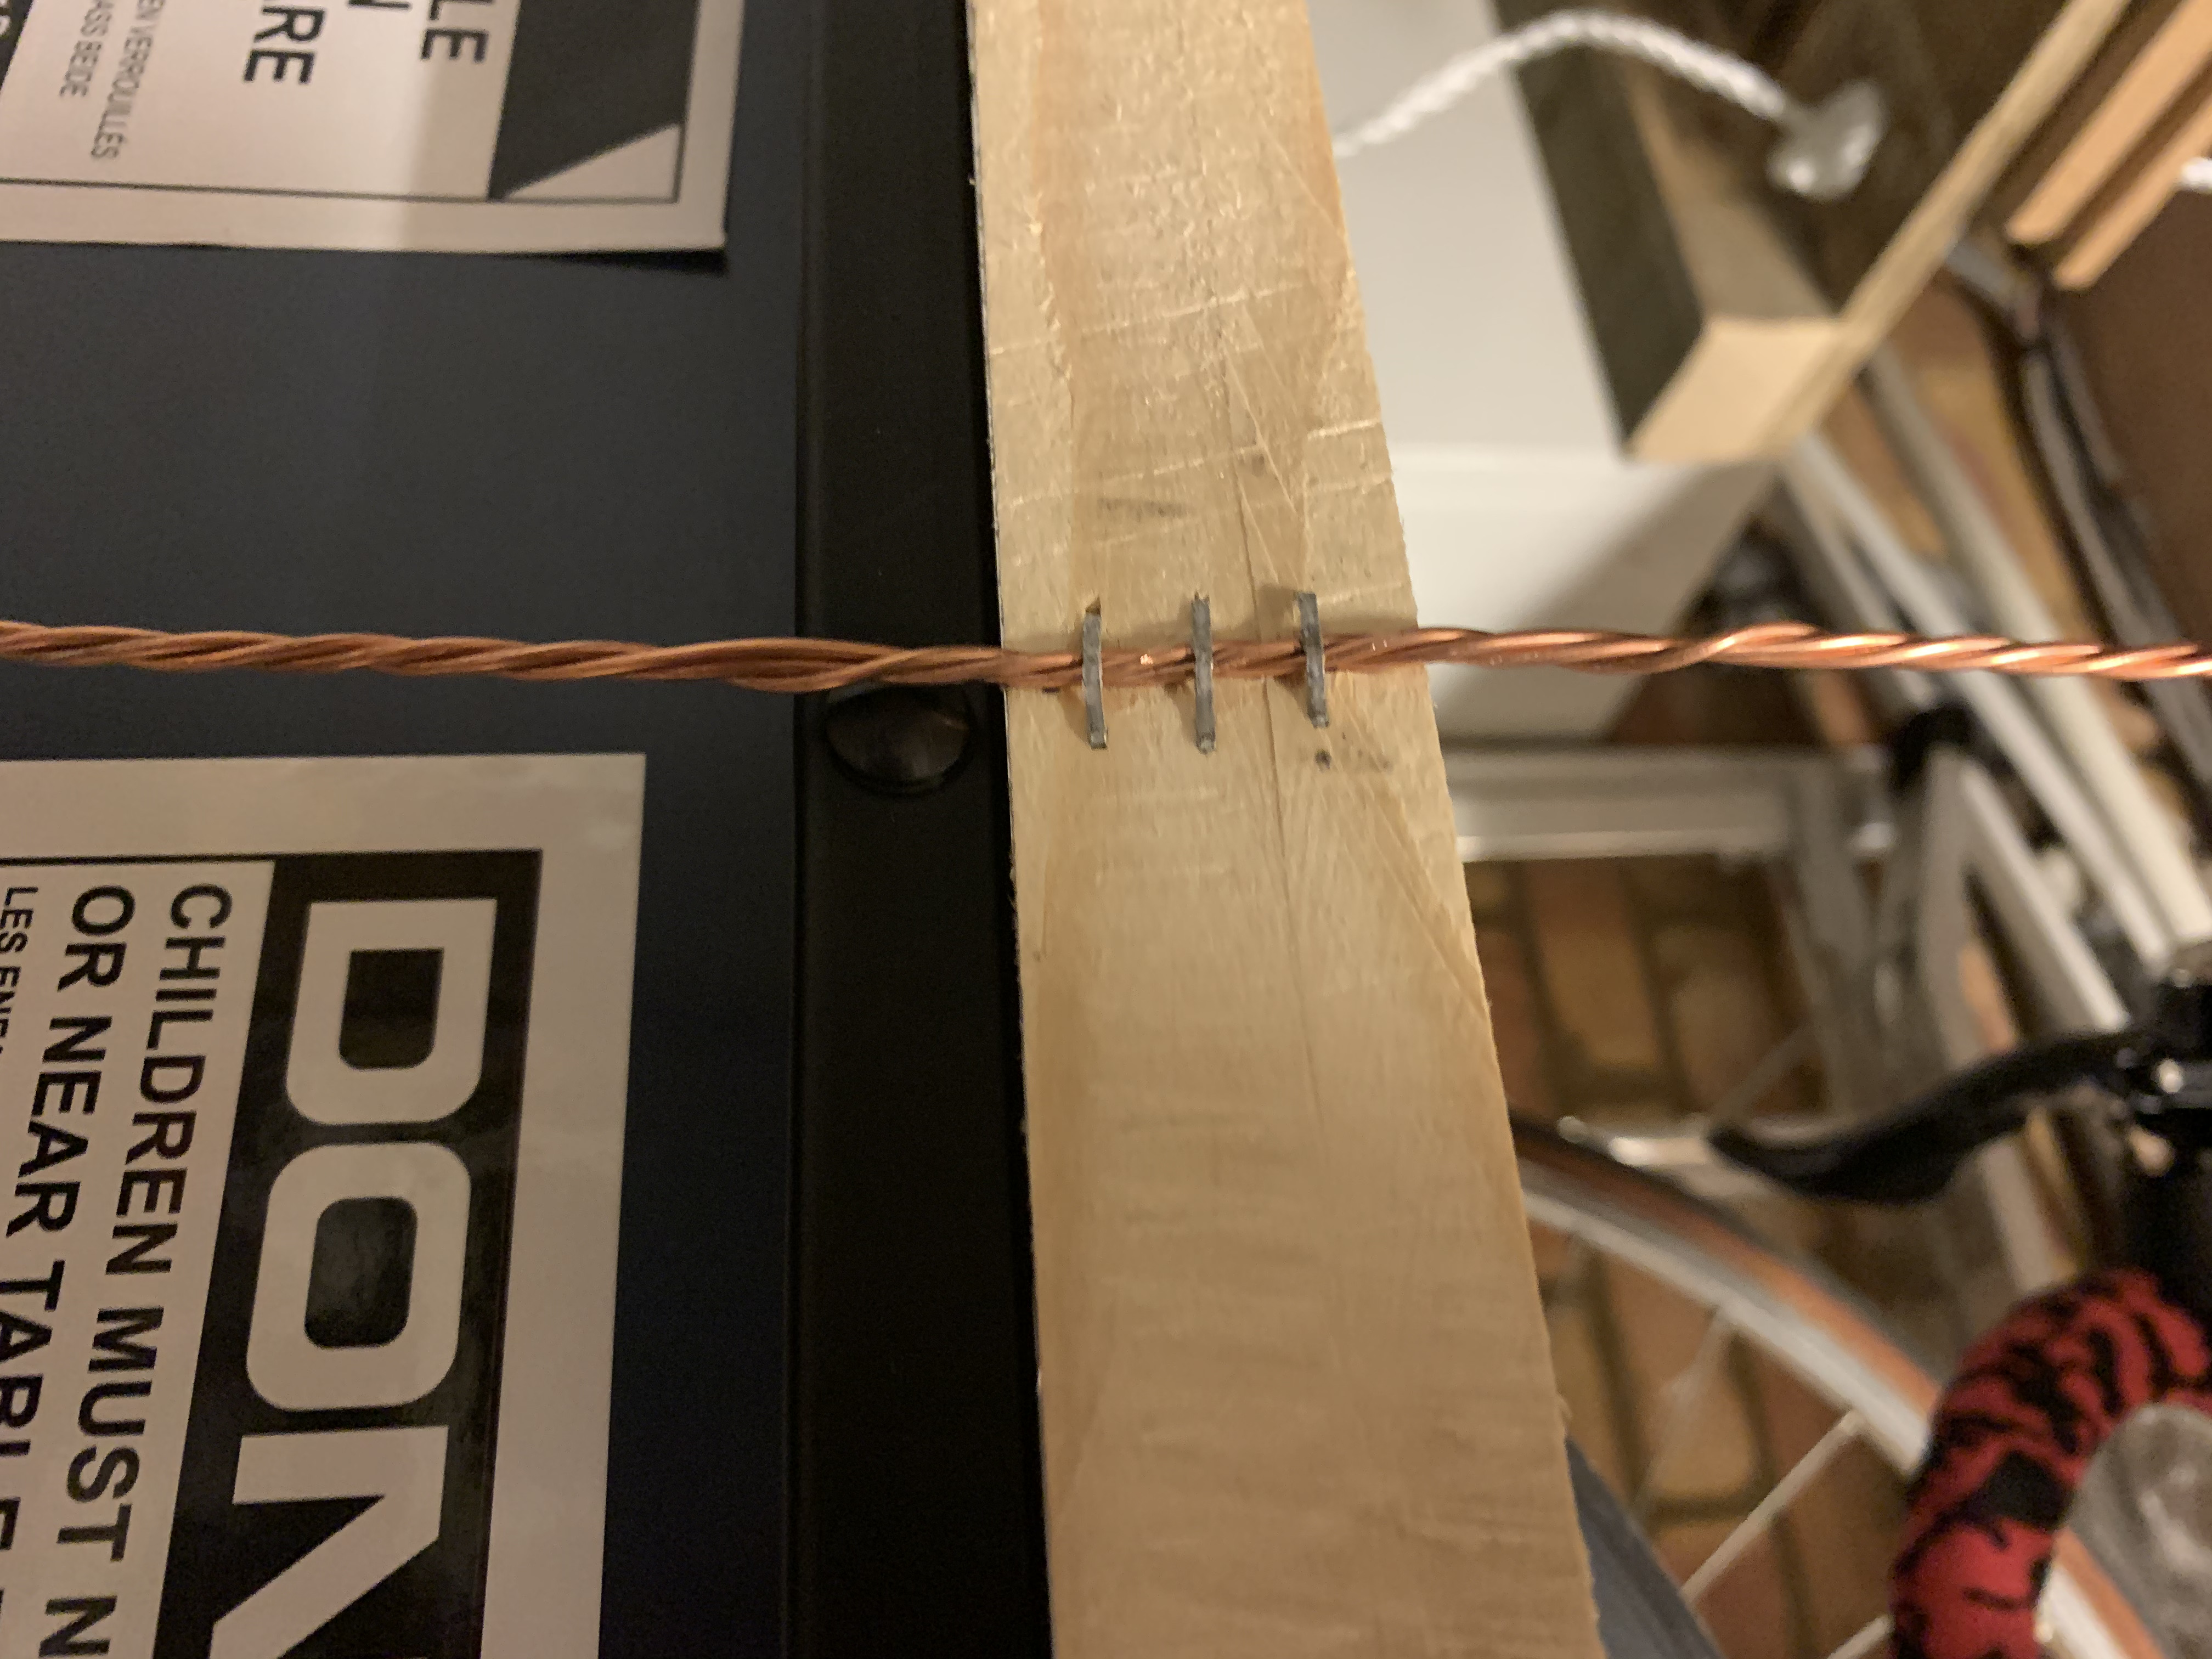
I used a staple gun to attach the wires to the wooden batten. But really anything would do at this point.
I wrapped the RG58 cable as many times as I could around the Toriod which ended up as 7 times leaving a very short length to strip and attach to the driven elements.
The driven element was a little trickier as the two wires needed to be close together but not touching. Again I used the staple gun and hammer to hold them tight. I cut the RG58 cable and using lots (too much) solder attached to the elements, keeping the stripped RG58 cable as short as possible as I didn’t want it to effect the SWR.
The final result came out well.

5.2.5.3. Testing
I connected it to my ICOM-705 and tuned around at 145Mhz, however as I’m surrounded by houses I’m not really going to pick up much. I did however reach a repeater about 30 miles away and was seeing a SWR of 1:1.3 so very happy with that. Ready for tomorrow morning.
5.2.5.4. Receiving the ISS signal
Well it was 0705 in the morning with a very heavy frost. So first order was to put some warm clothes on. I put my ICOM-705 radio on the back seat of my car and set the radio to the following.
tuned it to 145.800Mhz, and locked the dial
FM-Data
Squelch fully open
filter 1
Amp off
Notch filter off
I made no allowance for doppler shift. The pass was only lasting 5 minutes.
I decided that I wasn’t going to drag a computer outside to decode in real time, but rather record the transmission and then decode later in the warm. I used an SSD in the ICOM to record and save as a WAV. At just after 0700 I started recording and then stood on my drive with my rather large Yagi pointing towards where I determined the ISS would appear. At 0705 on the dot it appeared. I had a very clear sky and could see the bright light of the space station rising between the houses. The signal on the ICOM appeared at +9. I then kept the yagi pointing at the station as it passed by. The passing started with the tail end of one picture which helped me line myself up and check things were all working. At the end of each picture transmission there’s a 2 minute cool down break on the tranmitter. I kept tracking the station with my yagi and was able to follow it as the signal started up again and kept track all the way to completion.
5.2.5.5. Decoding
I used QSSTV on my Raspberry Pi 4 to decode. QSSTV is looking to take an audio stream. While in my shake I have the ICOM connected to the Pi via a USB cable which is used for rig control and audio. While outside I had recorded the audio to an SD card in the ICOM. I took the SD card and put it in my Mac and used “Quicktime” to trim the audio to start just before the transmission and end just after. Below you can download the audio I captured.
To play this audio back to the QSSTV I used “pulse”, and configured the audio to direct the audio over to QSSTV.
pavucontrol &
paplay -d virtual-cable iss.wav
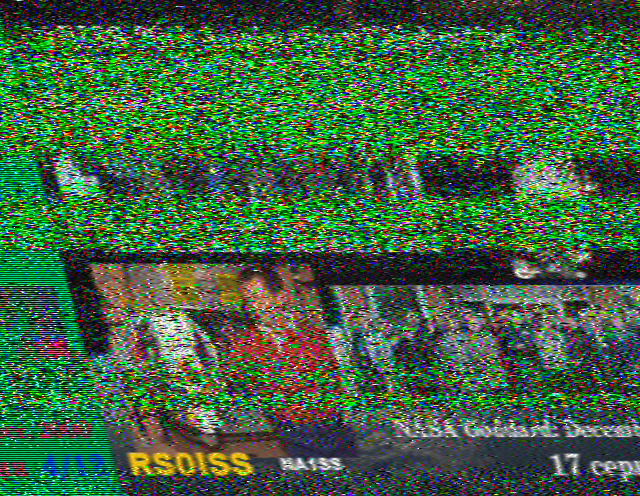
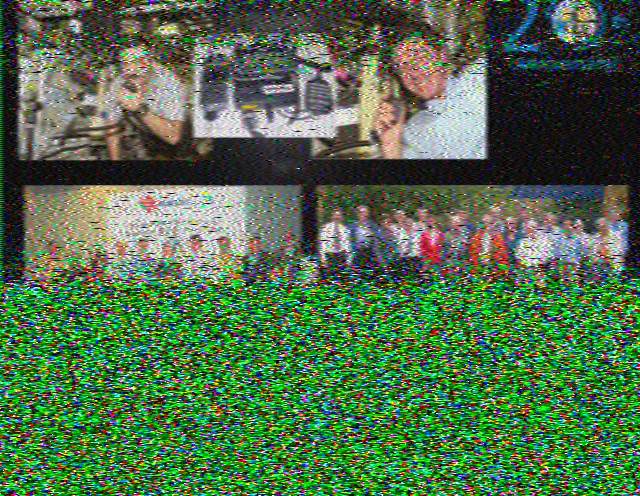
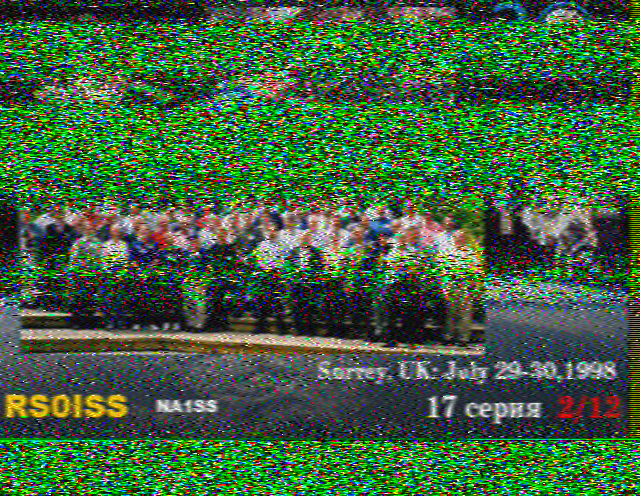
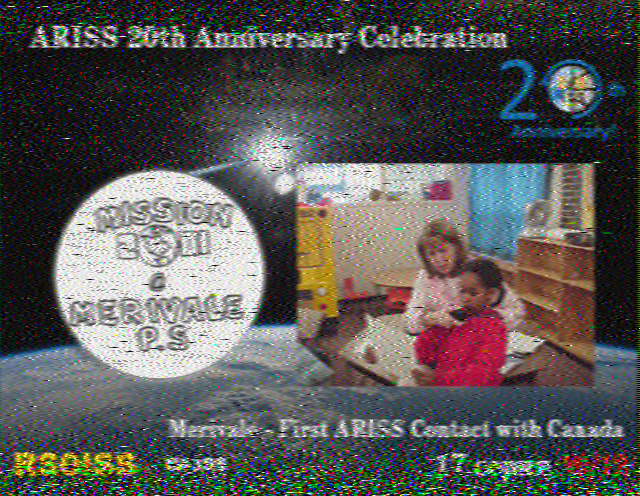
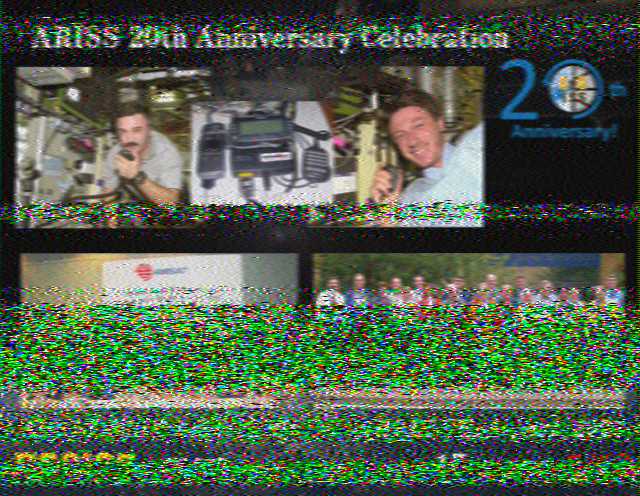
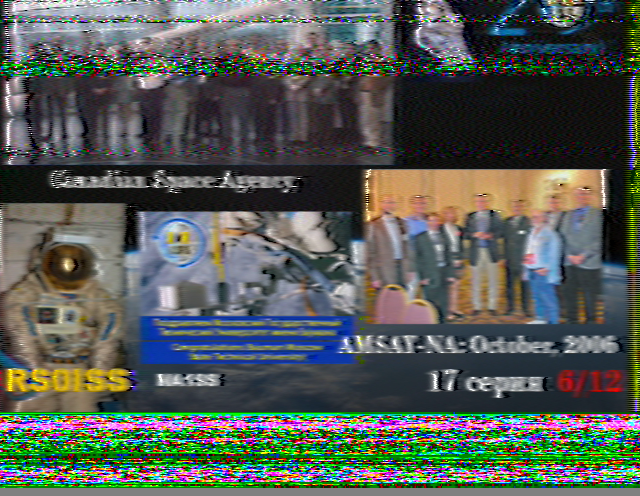
With the audio playing back QSSTV started to render the picture and save it. As you can see I had a very strong signal and ended up capturing a very good picture on my first attempt.
I also submitted to my picture back to ARISS SSTV for an award.
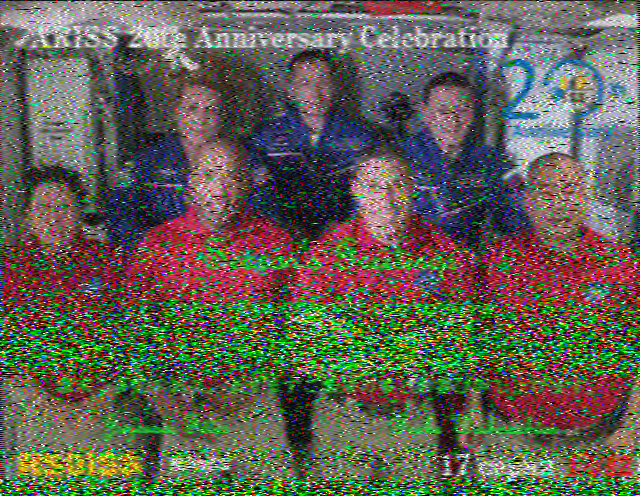
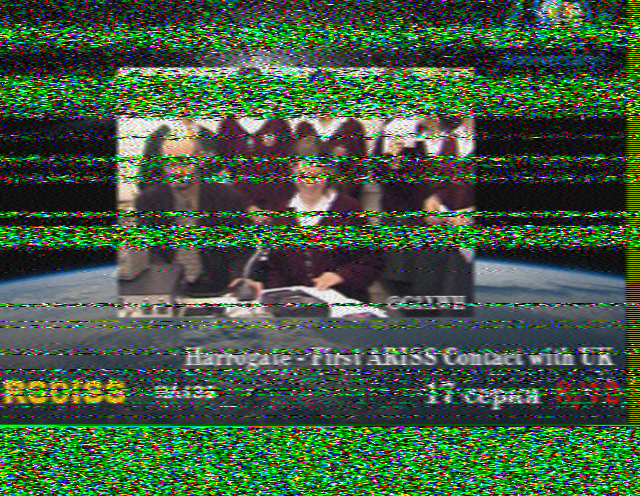
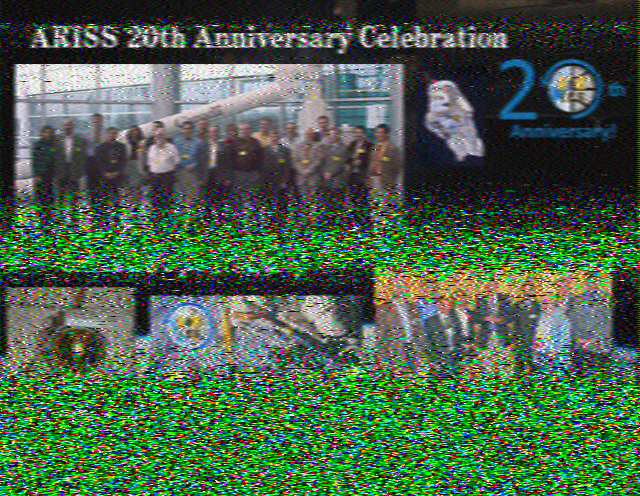
I repeated the capture today (Sunday 27th December 2020). This time more practiced and grabbed another picture. Today however we had heavy cloud cover and the pass was directly over my house so only started picking up after it was higher in the sky hence the loss of the first part of the picture.
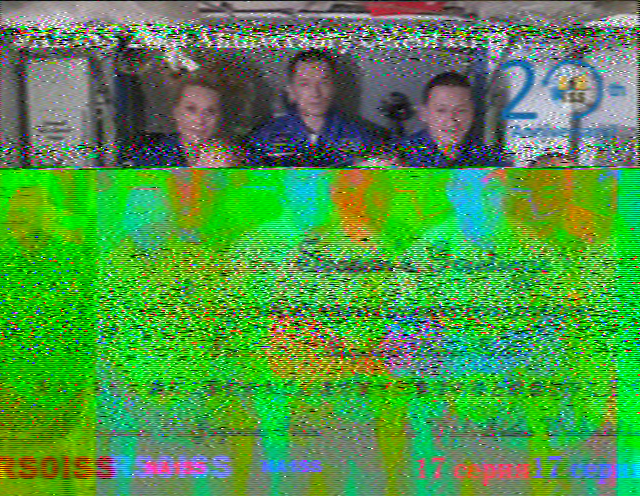
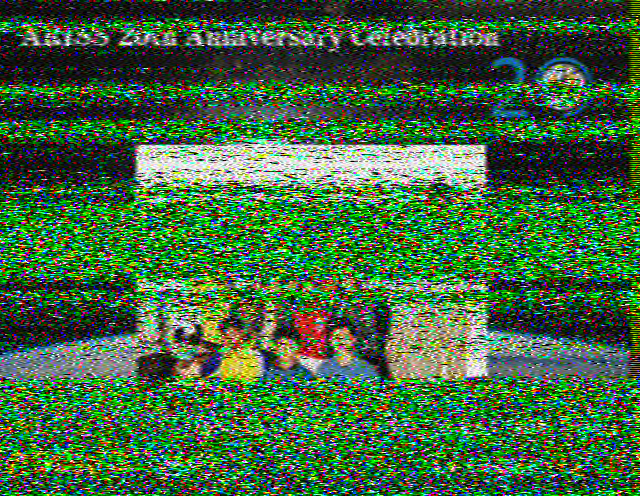
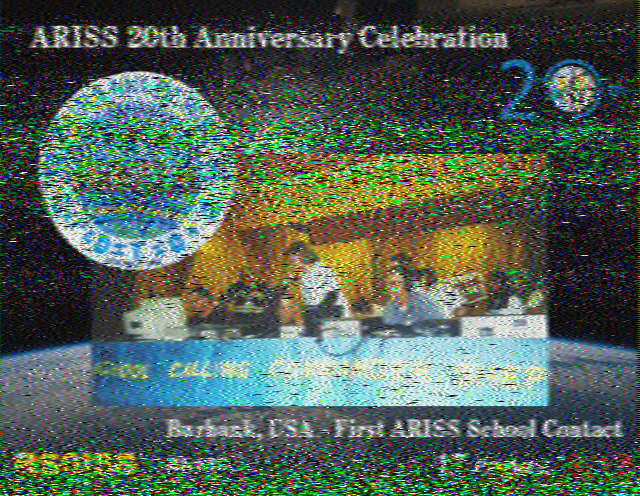
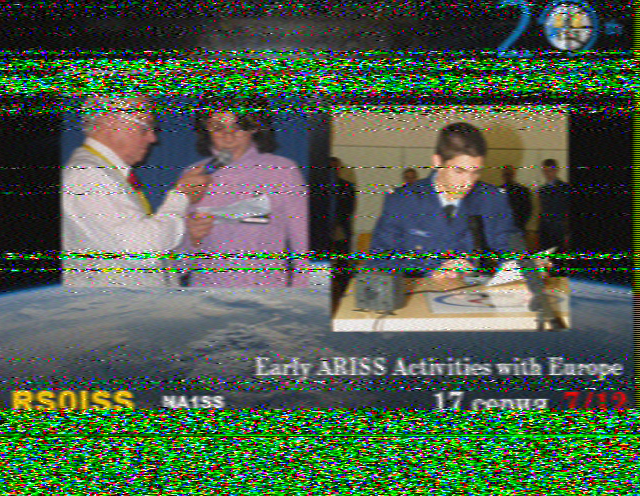
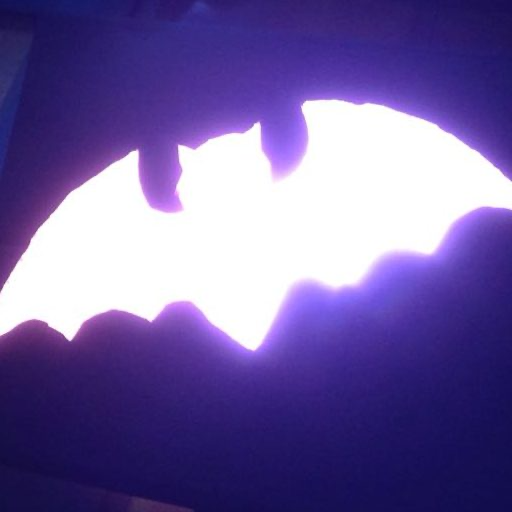
Since then I’ve been using my Diamond V-2000 and letting my rig capture throughout the night as the ISS passed over. I’ve been quite impressed as I’ve still managed to capture pictures not as good quality which is to be expected with the orientation of the antenna.